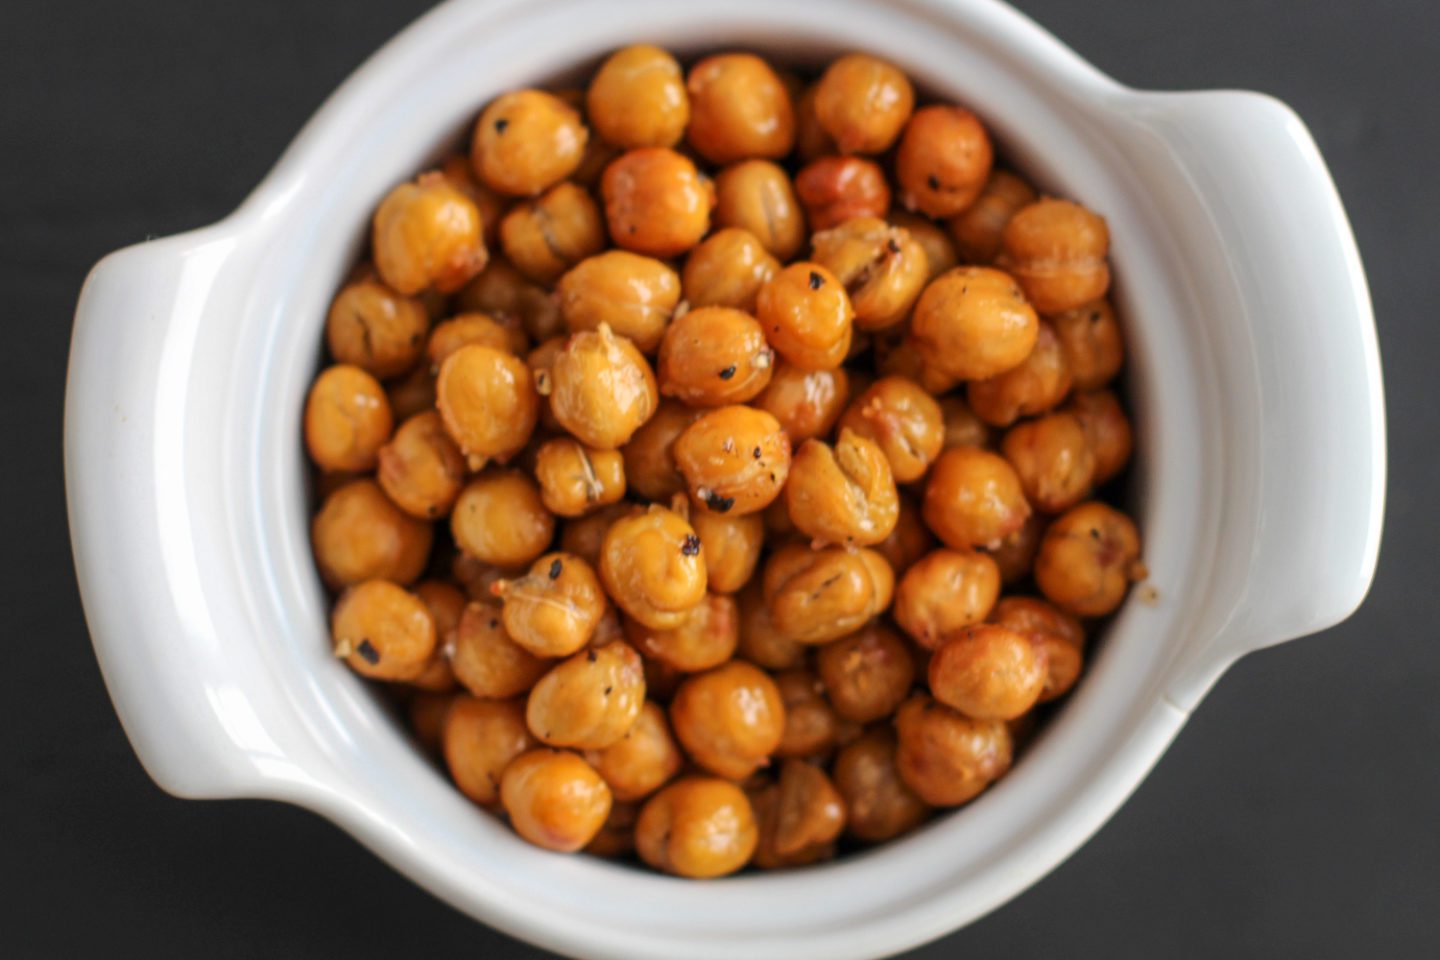
This recipe for How To Roast Perfect Crispy Chickpeas is an excellent source of protein, fibre and adds texture and colour to any dish. When roasted, chickpeas have a crunchy exterior with a soft bite.
If you are looking for a healthy snack or topping for soup, salads and dips then you’re going to want to learn how to roast chickpeas. When you learn how simple these are to make, you will never purchased store bought again! Try using them as a healthy alternative to snacking on potato chips or as croutons in my Vegan Caesar Salad.
Don’t Throw Out That Liquid
If you are using a can of chickpeas, you’ll want to save the liquid. If you remember from previous blog posts, this is called aquafaba and I’ve used it in a number of my vegan recipes. It’s a great substitute for egg-whites! You can use aquafaba to make Vegan Chocolate Mousse, Vegan Mayonnaise, Baked Vegan Apple Fritters and even Vegan Pavlova and Vegan Lemon Meringue Parfait Surprise.
The Trick For Perfect Roasted Crispy Chickpeas
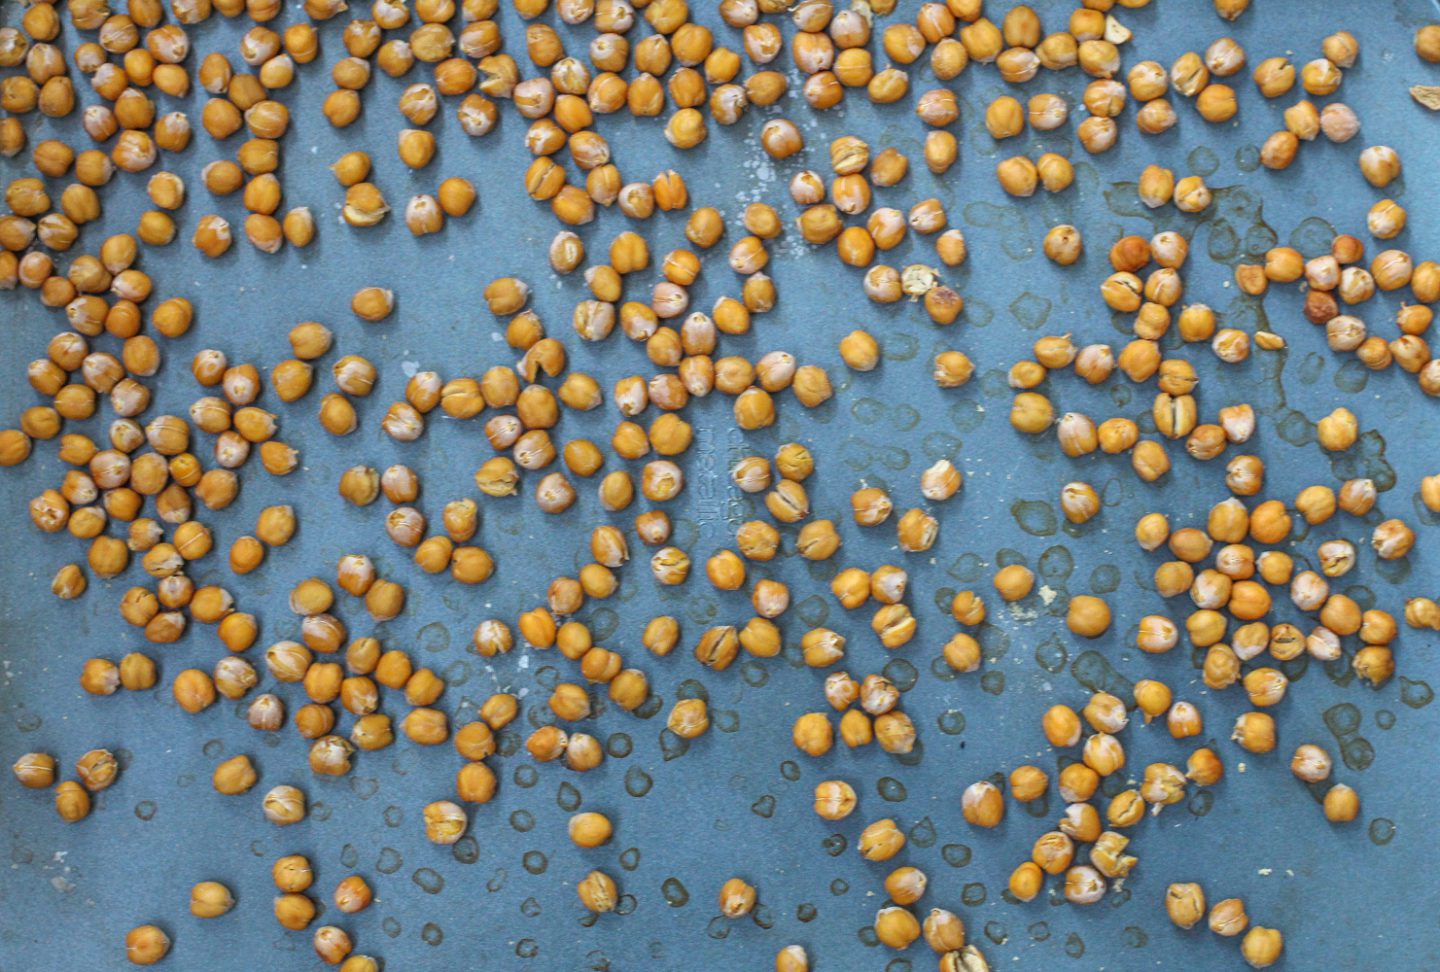
The trick roasting chickpeas is to not line your baking sheet with anything. Dry roast them first and then season the at the end. That way the flavour or seasonings will not be burnt off in the oven.
What To Do If Your Roasted Chickpeas Don’t Stay Crunchy
It’s okay if your roasted chickpeas go a bit soft, you can always toss them in the oven on a low temperature 350F for 5-10 minutes or until they crisp up again.
More Chickpea Recipes To Try
If you enjoyed this recipe for How To Roast Perfect Crispy Chickpeas you will want to try my other chickpea recipes like:
–Lemony Chickpea Wild Rice Soup with Parsley and Flowers
–Rainbow Pasta and Chickpea Salad
–Warm Spiced Vegan Moroccan Chickpea Tajine
Sharing Is Caring!
Take a photo of your first (or second) batch of Perfectly Roasted Crispy Chickpeas and share it with me at @SusanCooksVegan. I’ll feature your creation on my Instagram and Facebook stories.
You can also find me on my other channels YouTube, Instagram, Facebook , Pinterest and Twitter.
Don’t forget to leave a comment on the recipe below and give these Perfectly Roasted Crispy Chickpeas a star rating. It would really help me and let other readers know how the recipe worked out for you.
Thanks for the love, my friends!
Susan xox
PrintHow To Roast Perfect Crispy Chickpeas
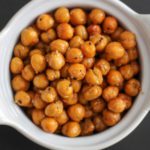
This is an excellent source of protein, fibre and adds texture and colour to any dish and are the perfect snack. When roasted, chickpeas have a crunchy exterior with a soft bite.
- Prep Time: 2 minutes
- Cook Time: 45 minutes
- Total Time: 47 minutes
- Yield: Approximately 1 cup 1x
- Category: Snack, Topping
- Method: Bake
- Cuisine: American, Canadian, Middle Eastern
Ingredients
- 2 1/2 cups of cooked chickpeas or 1 540ml can of chickpeas, drained and rinsed
- 1 tbsp of olive oil
- 1/2 tsp of course salt
Optional Seasonings
- 1/2 tsp paprika
- 1/2 tsp chilli powder
- 1/2 tsp garlic powder
Instructions
- Preheat your oven to 375F
- Spread the chickpeas in a single layer on a baking sheet. It’s ok if they are still a bit wet, they will dry out in the oven. Bake 30 minutes, stopping to shake the pan every now and then. *Make sure you do shake the pan once or twice when the chickpeas are baking, this helps them dry out properly and get crispy.
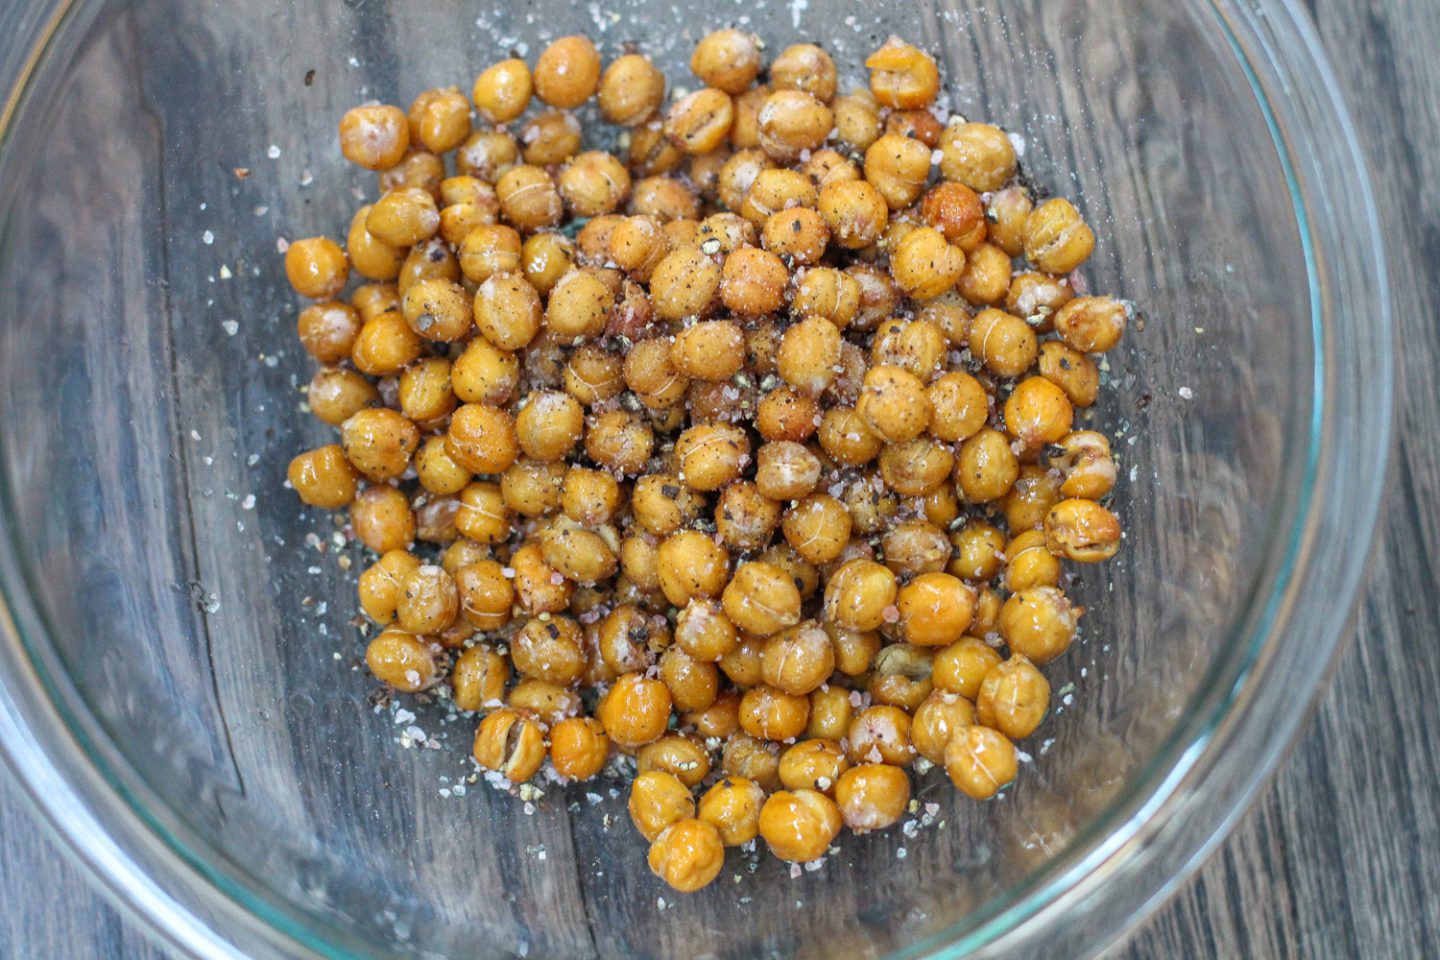
- Remove the chickpeas from the oven and carefully add the hot chickpeas to a bowl along with the olive oil, salt and any optional seasoning.
- Toss well to coat the chickpeas evenly. Spread the seasoned chickpeas back onto the baking sheet and return to the oven for another 10 to 15 minutes until they are golden and crispy. Remove from the oven and let cool a bit before enjoying.
- You can snack on them still warm, or completely cooled.
Notes
Store roasted chickpeas in the refrigerator, in a sealed container for up to a week.